Safed Configuration: General Settings
The Safed General Settings allow you to associate one or more LogFile Templates (and when working with Safed Agents on Windows, one or more EventLog Templates as well) with a given host. You can then deploy that configuration under Log Manager > Host > Deploy to N Host(s) (see the dedicated section).
To define a new General Setting for a host, click on Log Manager > Safed Agent. Then click the “Add” action to display the General Configuration Template (Fig. 206). Fill in the first three fields:
General Configuration Name: Enter a name that will be displayed in the list of templates.
Additional Description: Optionally add more information about the template.
Operating System Family: Select the operating system from the drop down list.
Note that there are important differences between configuring Safed Agents on Windows hosts versus for Safed Agents running on the Unix family of operating systems (Linux, Unix, AIX and Solaris). If you fill in other fields below, and then change the OS type, you may lose some of the values in those fields unless you first save those settings.
The following fields are common to configurations for all operating systems:
Override DNS Name: Rename the host when Safed writes out logs, as well as the log’s file name.
NetEye Server address: The IP address of the host where this configuration will be deployed.
Destination Port: The port of the Syslog stream (defaults to 514).
Protocol Type: Whether to use TCP or UDP. With UDP, log transmission is not guaranteed and the Safed transmission check and log buffer will not be activated. When using TCP, the Safed Agent detects when the TCP buffer fills up and will cache the log files locally until communication can be re-established, whereupon it will send all delayed log data to the NetEye log server.
Max Message size: Maximum size of a transmitted log message in bytes.
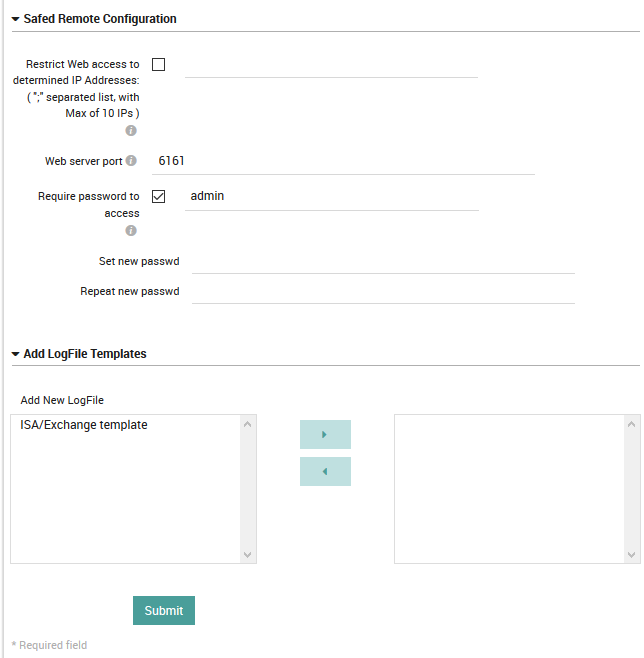
Restrict Web access: Limit the configuration deployment to specified IP addresses.
Web server port: A port for authentication via web server.
Require password: Force account-based access, with the login specified if this is enabled.
Set new password: To change password, enter the new password here.
Repeat new password: Repeat the same password if you filled in the field above.
Add New LogFile: Assign the LogFile templates using the multi-select tool.
If you select an option from the Unix OS family, the following fields will become available:
Days of Log Archives: The number of days that Log Manager will keep its own activity logs.
Wait time: The time in nanoseconds between reading log files (default is 10M = 10ms).
SYSLOG Facility: The Syslog facility that audit messages will be directed to.
SYSLOG Priority: The Syslog priority that will be marked on the audit messages.


Fig. 206 The General Settings configuration panel for Unix-like operating systems.
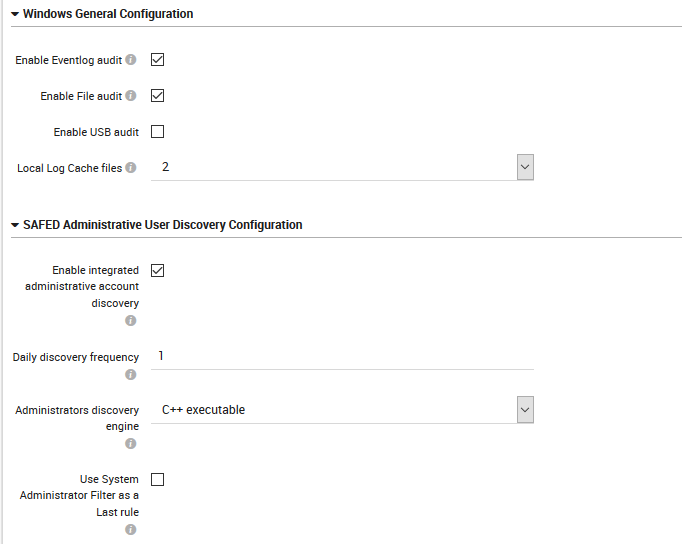
If you choose the Windows OS family, the following fields will become available (Fig. 207):
Enable Eventlog audit: Allow NetEye’s Safed to automatically set the audit configuration.
Enable File audit: Allow NetEye’s Safed to automatically set the audit configuration for files.
Enable USB audit: Allow NetEye’s Safed to automatically set the audit configuration for USB connections.
Local Log Cache files: The number of rotating logs to keep (in the system32 folder), in days.
Enable admin account discovery: Allow NetEye’s Safed to automatically discover administrators and set filters accordingly.
Daily discovery frequency: Define how many times per day to launch administrator discovery.
Administrators discovery engine: Select the method for executing discovery.
Use SysAdmin Last Rule Filter: When parsing a Log event, automatically add a final default rule.
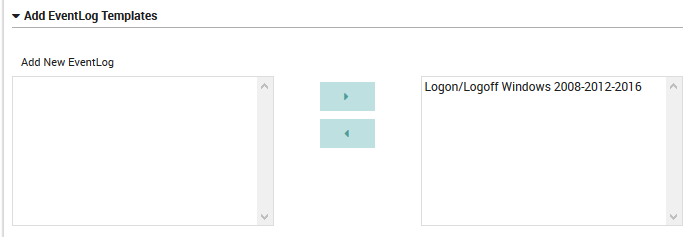
Add New EventLog: Assign the EventLog templates using the multi-select tool.


Fig. 207 The General Settings configuration panel for Windows operating systems.
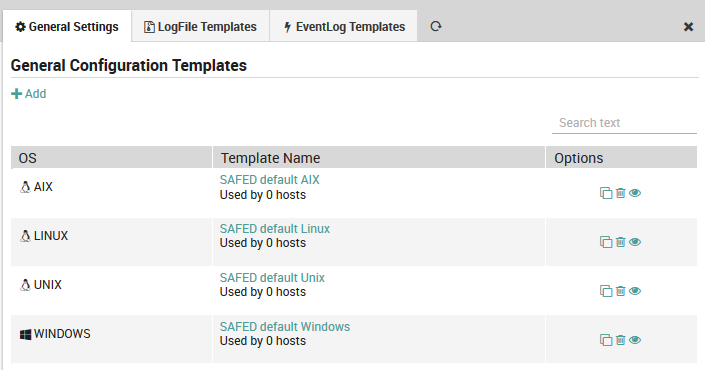
To edit an existing General Configuration template, follow the same sequence as above. You will see all existing general configuration templates along with a quick summary as shown in Figure 3. Instead of clicking on the “Add” action, click on the name of an existing objective. You can then edit the template using the same panel above (Fig. 206) used to create it.

Fig. 208 Editing a general configuration template definition.
Under the template name you can find the number of hosts that have been associated with this template.
In the Options column you can initiate several types of actions for a given template:
Clone: The clone action ( ) can save you time when you need a template that is similar to one you have. It will open a new Add Template panel containing the same field values as the one you copied from.
Delete: The delete action ( ) allows you to delete that template as long as there are no hosts associated with it (i.e., “Used by 0 hosts”).
View: The view action ( ) will show you a preview of the configuration file that will be sent to all hosts associated with that template, for instance:
[Output]
     network=1.1.1.1:514:tcp
     syslog=0
     days=2
     maxmsgsize=
     waittime=10000000
[Log]
     logFileToKeep=5
     logLevel=1
[Remote]
     allow=1
     listen_port=6161
[End]

