Getting Started with NEPs
Beginning with NetEye Extension Packs can be not so easy, especially for those who are new to Icinga2 and Director logics. Although NetEye Extension Packs are born to make things easy, a little help in the beginning can be required. This Getting Started aims to:
Monitor an example environment after setting up the required Packages
What this Getting Started will not do:
Explain the basics of NEP philosophy
Dig into the installation and setup processes
Explore the Packages required by the example environment
Explore the other Packages provided with NEP
Therefore, remember to read the online documentation to get more insight of NEPs and details on how they work.
Install NEP on your NetEye Single Node
Before installing NEP, ensure you have access to the right Online Repos as describet at Enable access to external repos.
As described at Online Resources and Obtaining NEP, NEP can be installed on your NetEye from two sources. If you require the last stable version, install it from Wuerth Phoenix’s RPM Repository. If you require the latest development release, install it from Wuerth Phoenix’s Anonymous BitBucket Repository. Just install from one of the two sources, and make sure you don’t use both of them. In both cases, make sure your NetEye has a working Internet Connection.
Install NEP from RPM Repository
To install NEP from from Wuerth Phoenix’s RPM Repository neteye-contrib, just use Yum to install neteye-nep RPM inside your NetEye Server:
yum --enablerepo=neteye-contrib install neteye-nep
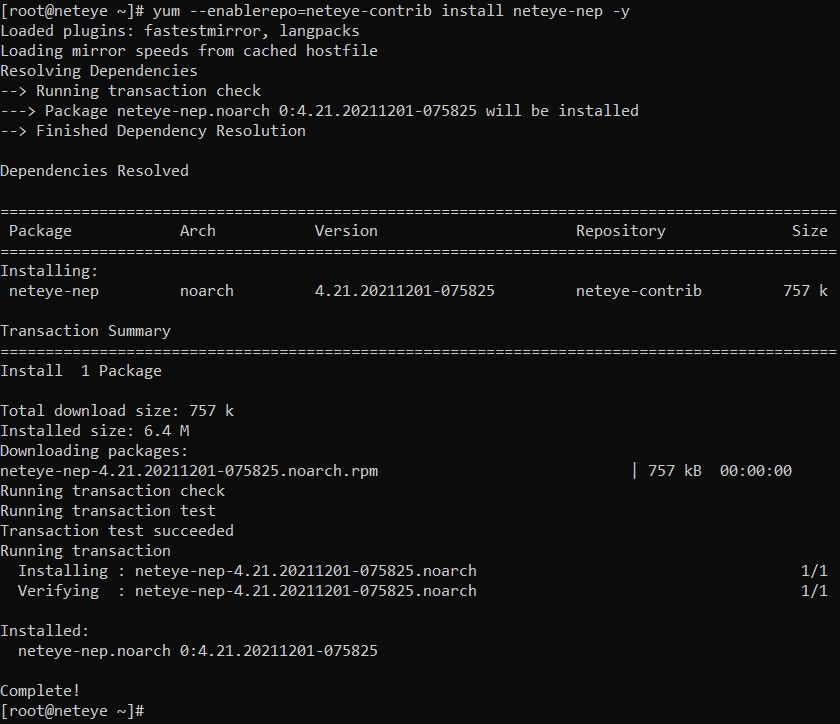
Now, all available NEP Contents are available from directory /usr/share/neteye/nep/.
Install NEP on your NetEye Cluster
As described at Online Resources and Obtaining NEP, NEP can be installed on your NetEye from two sources. If you require the last stable version, install it from Wuerth Phoenix’s RPM Repository. If you require the latest development release, install it from Wuerth Phoenix’s Anonymous BitBucket Repository. Just install from one of the two sources, and make sure you don’t use both of them. In both cases, make sure your NetEye has a working Internet Connection. Remember to perform the steps on all NetEye Opeartive Cluster Nodes when required.
Install NEP from RPM Repository
To install NEP from from Wuerth Phoenix’s RPM Repository neteye-contrib, just use Yum to install neteye-nep RPM on all Operative Cluster Nodes:
yum --enablerepo=neteye-contrib install neteye-nep
Now, all available NEP Contents are available from directory /usr/share/neteye/nep/.
Remember to perform the Create Cluster Resources step.
Create Cluster Resources
To complete installation of NEP on a NetEye Cluster, the required Cluster Resources must be created.
Directory /neteye/shared/nep/ must be shared accross all Operative Cluster Nodes. Otherwise, nep-setup will not be able to sync data accross all Cluster Nodes.
On a NetEye Cluster, creation of Cluster Resources for NEP is done just like any other resource, as describet at Cluster Services Setup.
Note that the Template Config File is available on a different path: /usr/share/neteye/nep/setup/conf/Services-nep.conf.tpl.
Review settings inside the Template Config File:
Adjust the
ip_preproperty with the right valueEnsure that
sizeproperty has a value of at least1024, that is equivalent to 1GB
Then, run cluster_service_setup.pl script in accord to Cluster Services Setup.
Monitor an example environment
Let’s consider a very simple environment composed by:
One managed network switch
One Windows DNS Server (named
server1.example.test, hosting Domainexample.test)One Linux Server (named
server2.example.test)One NetEye Server
Both servers are attached at that network switch. Both servers have Icinga2 Agent installed and configured to talk with the NetEye Server.
Prepare for monitoring your environment
Given the composition of the example environment, some NEP Packages must be setup to make the necessary building blocks available:
Basic monitoring for servers is available available through
nep-commonWindows DNS Server monitoring is available through the dedicated package
nep-server-dnsCommon Network devices monitoring is available through the dedicated package
nep-network-base
The Setup procedure will make them ready for use. Supposing NEP Contents are available in your NetEye server at directory /usr/share/neteye/nep/, run these commands on your NetEye Server:
nep-setup install nep-common
nep-setup install nep-server-dns
nep-setup install nep-network-base
The output of each setup might be a little verbose, so the next screenshot reports only the output of nep-common setup.
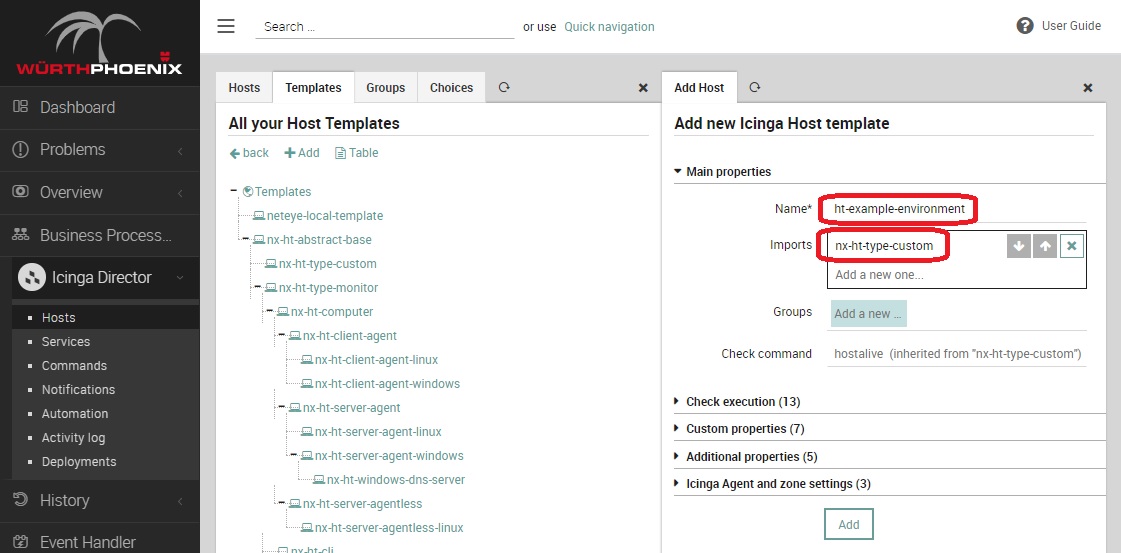
Now that everything has been setup, create a new Host Template for the current environment named ht-example-environment.
This Host Template will be used to distribute common custom variables and for tweaking monitoring frequencies for this environment.
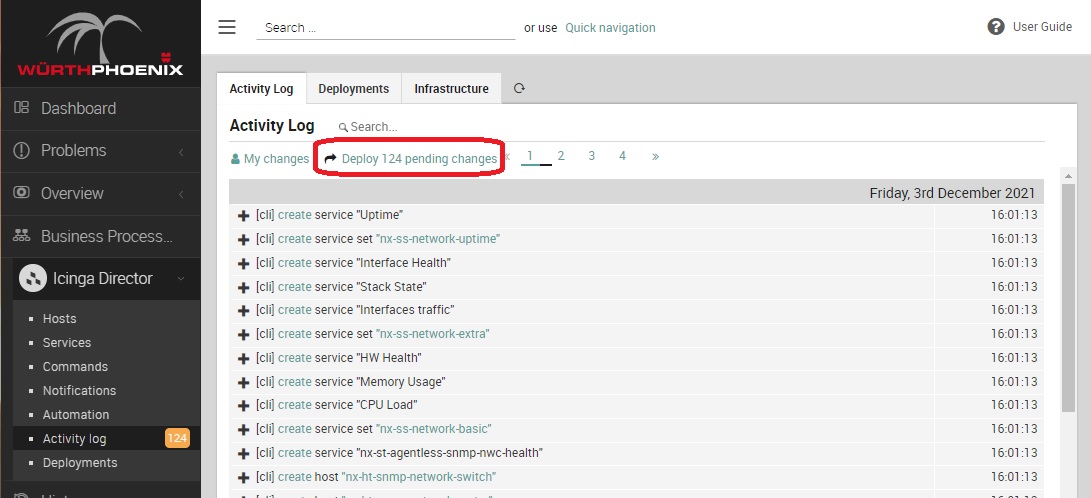
Now, several changes have been made to NetEye Configuration. Just Deploy it before continuing. This will ensure you are in a consistent state before creating your own monitoring configuration. Remember that the number of pending changes might vary based on the version of NEP you are using.
Monitor the devices
Now that the building blocks are in place, it is possible to model and create the Host Objects representing the devices to monitor.
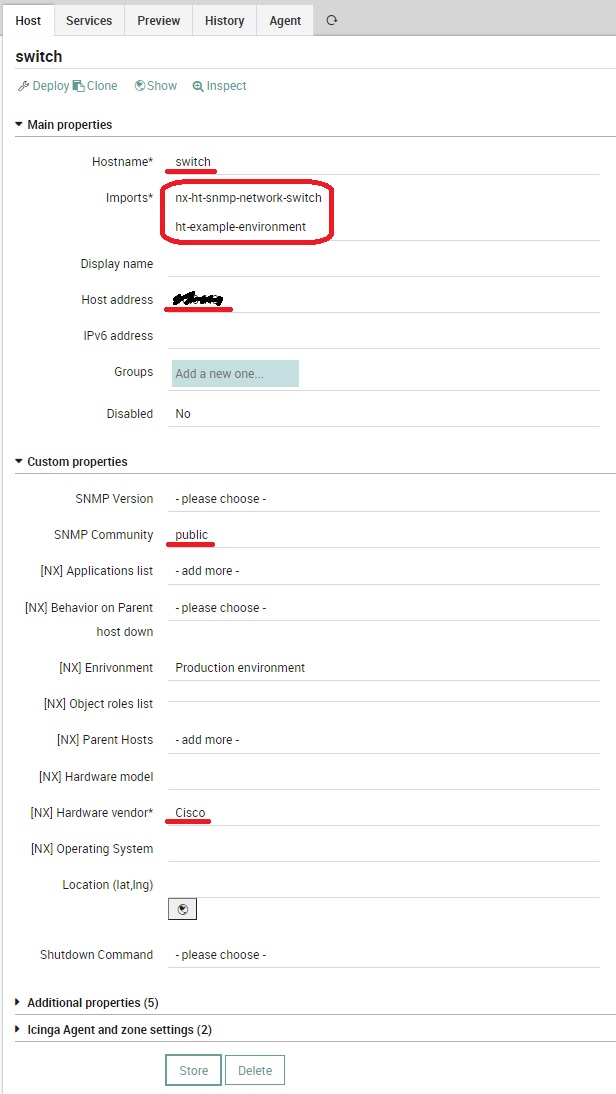
First is the network switch. It will be monitored via SNMP, so make sure to have its Read SNMP Community. Then, create a new Host Object and make sure to assign:
a valid name (that can be
switch)assign Host Templates
nx-ht-status-ping,nx-ht-snmp-network-switchandht-example-environmentthe right IP address
its Read SNMP Community
Provide at least the Hardware Vendor
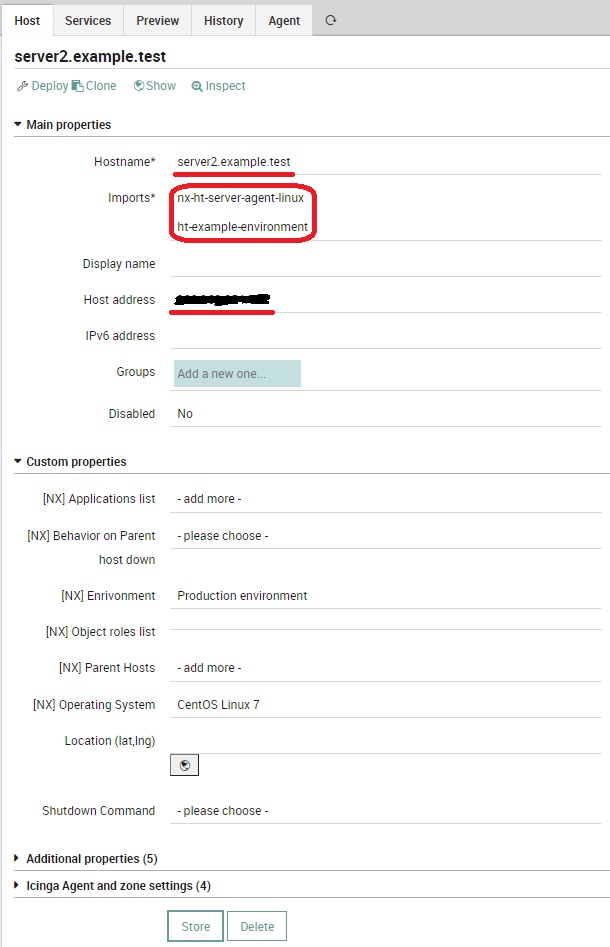
Second, the Linux Server. It will be monitored via Icinga2 Agent. Since this server has not a specific role, a generic monitoring can suffice. Now, create a new Host Object and make sure to assign:
its FQDN (in this case,
server2.example.test)assign Host Templates
nx-ht-status-ping,nx-ht-server-agent-linuxandht-example-environmentthe right IP address
if you want, select the right Operating System from the dropdown list and the right Environment
Unfortunately, not all the required monitoring plugins are available on a Linux Server. To correctly monitor this server, transfer some monitoring plugins from NetEye: copy these 3 plugins into /usr/lib64/nagios/plugins on the linux server:
/neteye/shared/monitoring/plugins/check_mem.pl
/neteye/shared/monitoring/plugins/check_systemd_service
/usr/lib64/neteye/monitoring/plugins/check_uptime
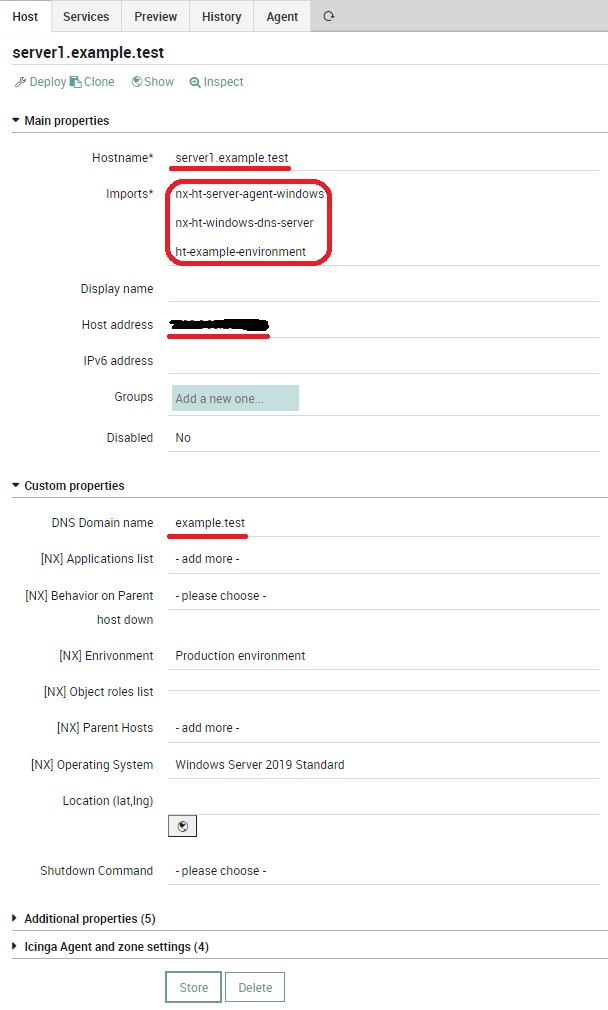
Last, the Windows Server.
This server has the specific role of a DNS Server, therefore a combination of Host Templates from ht-nx-type-monitoring must be used: nx-ht-server-agent-windows will provide basic monitoring capabilities, and nx-ht-windows-dns-server will provide specific monitoring for a Windows-based DNS Server.
Create a new Host Object and make sure to assign:
its FQDN (in this case,
server2.example.test)assign Host Templates
nx-ht-status-ping,nx-ht-server-agent-windows,nx-ht-windows-dns-serverandht-example-environmentthe right IP address
the DNS Domain this DNS Server hosts
if you want, select the right Operating System from the dropdown list and the right Environment
Yum can now deploy the configuration: a whole set of services will be deployed and used to monitor your environment.
Configure Dependencies
Since both server1.example.test and server2.example.test are attached to the same network switch, it should be set as Parent Host for both of them. Just edit on the two Host Objects the property Parent Host and select switch` from the list. You can change the behavior of Icinga2 in case ``switch goes down by changing the value of property Behavior on Parent Host down.
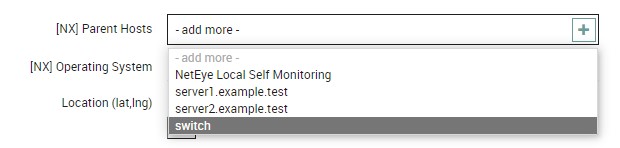
Now, after the next deploy, in case switch goes down NetEye will mark both server1.example.test and server2.example.test as Unreachable.
Continue learning NEP
Now that your first monitoring is up and running, dig more into NEP by continuing in reading the documentation.